Friday, November 20, 2015

POLYGON POUCH: PDF Pattern Release

Fast and easy pouches in a variety of shapes

....just in time for holiday sewing!


I started making simple rectangle pouches from a tutorial I found online.  I improvised, finding ways to finish all the raw edges, and to my delight, they sold like crazy at a craft fair!

Last year, the talented Judy Buchanan of Hickity Pickity asked me to create a PDF pattern for the pouch.  The idea of pouches in a variety of shapes brewed in my mind while my children we were learning about geometric shapes in math.  Finally, when a little free time opened up this year, I developed the pattern. 


The Polygon Pouch PDF Pattern includes three simple, small pouches in the following shapes: rectangle, trapezoid and hexagon. This is an ideal beginner pattern.  However, this is equally fun for seasoned sewists interested in trying out bag-making, or looking for a quick sew.  In around an hour, you'll have a darling pouch made!  


You will find endless uses for these pouchesChoose either to add a key ring or make the optional wristlet strap. The pouches make versatile gifts for children, teens, friends, co-workers, college students, and family members.   Since they’re just the right size for corralling small items, you may want to make a few for yourself, too.


Not only are they a breeze to sew up, they’re fabulous fabric scrap busters, too!   You will be amazed at what you can create with two fat quarters, or tiny remnants of your favorite fabrics.  


I’ve had fun experimenting with these varied polygon pouches.  They’re quick, fun and easy to make, not to mention super useful and terrific scrap busters!  I hope you give my pattern a try.

Hats off, and a thousand thank yous, to my team of talented pattern testers!  They not only caught my typos and clarified murky directions, they made fabulous suggestions and taught me new tricks (like double-sided sewing tape!)  

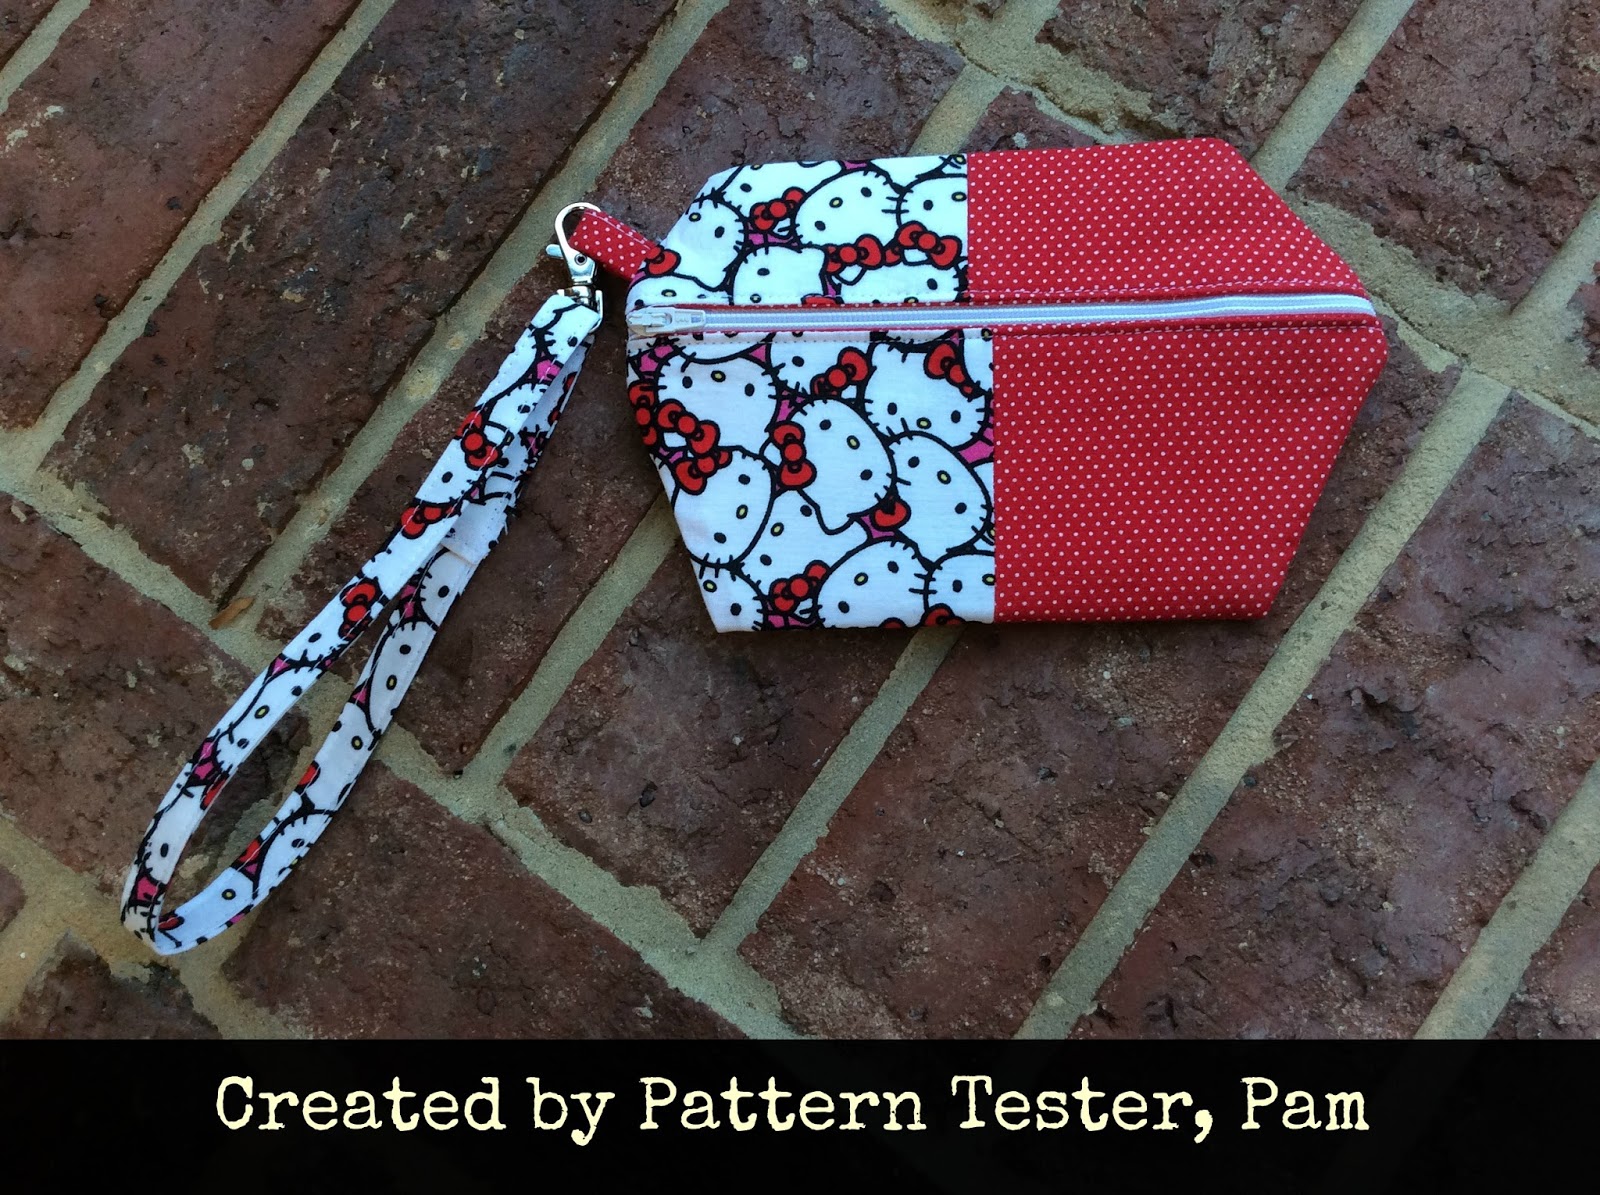
And, here's what one tester, Pam, said about the pattern:

I love this pattern. I have wanted to make bags for a while, but never got around to it. I love that you have 3 different shapes within one pattern. You get 3 different and great looking bags in one. There were all very easy to make, with very clear and well written instructions. I have made a simple rectangle pouch with instructions found on the web, but never made different shaped ones like this before. I love how and fast and easy they go together. They probably each took less than an hour. I love the addition of the interfacing. It's adds sturdiness without bulk. I love how neat they look when they are finished. I made three, one for me, and one for each of my girls, because I knew as soon as they saw them, they would claim them as their own. They are very versatile and will have a different look depending on the fabrics used. I intend to make some out of denim and/or faux leather for teacher's gifts this year. They would be great to use as a little clutch for date night etc, or would also be good to put your small stuff in within your larger purse. Because you can never find your itty bitty stuff at the bottom of your large purse/bag! I'm sure my girls will fill them with their treasures! I like the neatness the binding gives to the inside of the pouch.

Take a look at the pattern testers' gorgeous creations!

Judy Buchanan of Hickity Pickity created this lovely Rectangle Pouch in Jennifer Paganelli's Sis Boom Fabrics.


Saturday, October 31, 2015

ATLAS HUGGED: How an Old Map Found a New Purpose


Last year, my youngest child was obsessed with geography.  Maps, globes, and atlases added their own topography to our house.  But, like so many others before it, this fascination disappeared, falling into a craggy canyon of my son's childhood.  

Nevertheless, artifacts from this fancy remained. A ragged road atlas settled in our family room after my son excavated it from our mini van months prior.  A smattering of Legos (his obsession du jour), and dust covered it.  Right around the time my house approached its maximum pre-craft show messiness, and I craved some minimum level of order, I spied the old atlas.

I thumbed through it.  Its bent pages plotted our treks to Ohio and New York.   A bedraggled map of Maryland took me back to family trips with our once tiny children, buckled in car seats, chewing on pacifiers, contented by the blare of  "Twinkle, Twinkle Little Star".  Now armed with GPS and iPhones, years have passed since we consulted this atlas, or searched for a pacifier.  I shrugged. No one used the road atlas anymore, but I hated to throw it away.

Then an idea hit me:  why not turn its pages into paper shopping bags?  I needed small bags for customers and loved the idea of making them.  What came about was not so much tidiness in my house that day (I had after the craft fair to worry about that!), as fun, cute, easy and quick shopping bags for my customers to fill with my handmade goods.


With the holiday craft fair season approaching, I thought other makers would find this tutorial useful. Besides shopping bags, these make great gift bags, too. If you don't have an old atlas on hand, try any over-sized paper:  gift wrap, wallpaper samples, sewing pattern catalogs, large sheets of scrapbook paper to name a few.


Here's how:

Supplies:
  • An old atlas (or other over-sized paper)
  • Cardboard 
  • Glue Stick

Dimensions:

  • The size of the cardboard is 11"h x 6 1/2" w
  • The size of my atlas pages are 15" h x 10 3/4" w  
  • The finished bags are 10" h x 6 1/2" w


Place the cardboard in the center of the atlas page.


Fold the right side of the atlas page over the cardboard.  Crease.

Now, fold the left side over the cardboard and crease.


Unfold.  Apply glue to the bottom of the page and along the right side.


Refold the atlas page.  Firmly press to be sure the glue sticks.  
Add more glue where needed.  
Fold the bottom edge over 1 inch.  Crease firmly and glue.  


These are so quick and easy to make!  In a flash, you'll have a stack of bags to take to your next craft show, at little to no cost, and you will have recycled an old atlas, or other cast-off paper.  


Sunday, July 5, 2015

I am thrilled to announce my newest PDF sewing pattern!

L Street Messenger Bag


ABOUT THE BAG:
Beautiful and functional, the L Street Messenger Bag holds everything you need…and then some! It features a flush zipper pocket, and an interior pocket for phone, e-reader and pens. Optional laptop/notebook pocket and additional front pockets are included. The strap adjusts to the length you need. A swivel clasp keeps keys at easy reach. 


BACKGROUND STORY:
I fondly remember working on L Street in Washington, D.C. Large, black bags transported documents all over the city, slung across messengers on bicycles. This is a fun, fresh take on that useful delivery bag, ready for any event a day can throw.


PATTERN TESTERS:
I had an amazing team of pattern testers.  Their input was been invaluable!  I learned a ton from them, and I can truly say, with their help, this is my best pattern yet!


"I think this is going on my 'favorite things I've ever sewn' list! Came out really cool."
-Pattern Tester Jessica Carleton


"I LOVE this bag!!!  So many great pockets for super-organizers like me!" 
-Pattern Tester Raina DelRio


"I like it! If you read the instructions it's easy to follow. It's a good size."
-Pattern Tester Pamela Gilfoyle